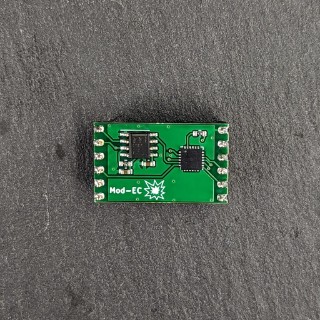
💥 Mod-EC
Module Details
🔰 Easy
Easy I2C interface, simple API, minimal technical knowledge required
🎯 Accurate
- ±0.01 mS/cm in a range of 0.1 mS/cm to 1 mS/cm
- ±0.1 mS/cm in a range of 1 mS/cm to 10 mS/cm
- temperature compensated
↕️ Calibration
Calibration routines on-chip: single, dual, and triple point
Code
-
1#include <Microfire_Mod-EC.h>2Microfire::Mod_EC::i2c ec;3void setup() {4Serial.begin(9600);5Wire.begin();6ec.begin();7}89void loop() {10ec.measureEC();11Serial.println((String) ec.mS + " mS/cm");12delay(1000);13}
Read more here -
1...2# import the component3external_components:4- source:5type: git6url: https://github.com/u-fire/ESPHomeComponents/78sensor:9- platform: mod_ec10name: EC11...
Read more here
Other stuff you'll need
This is just the module. You could...
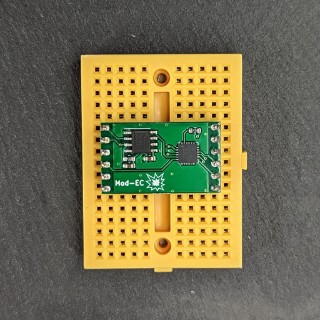
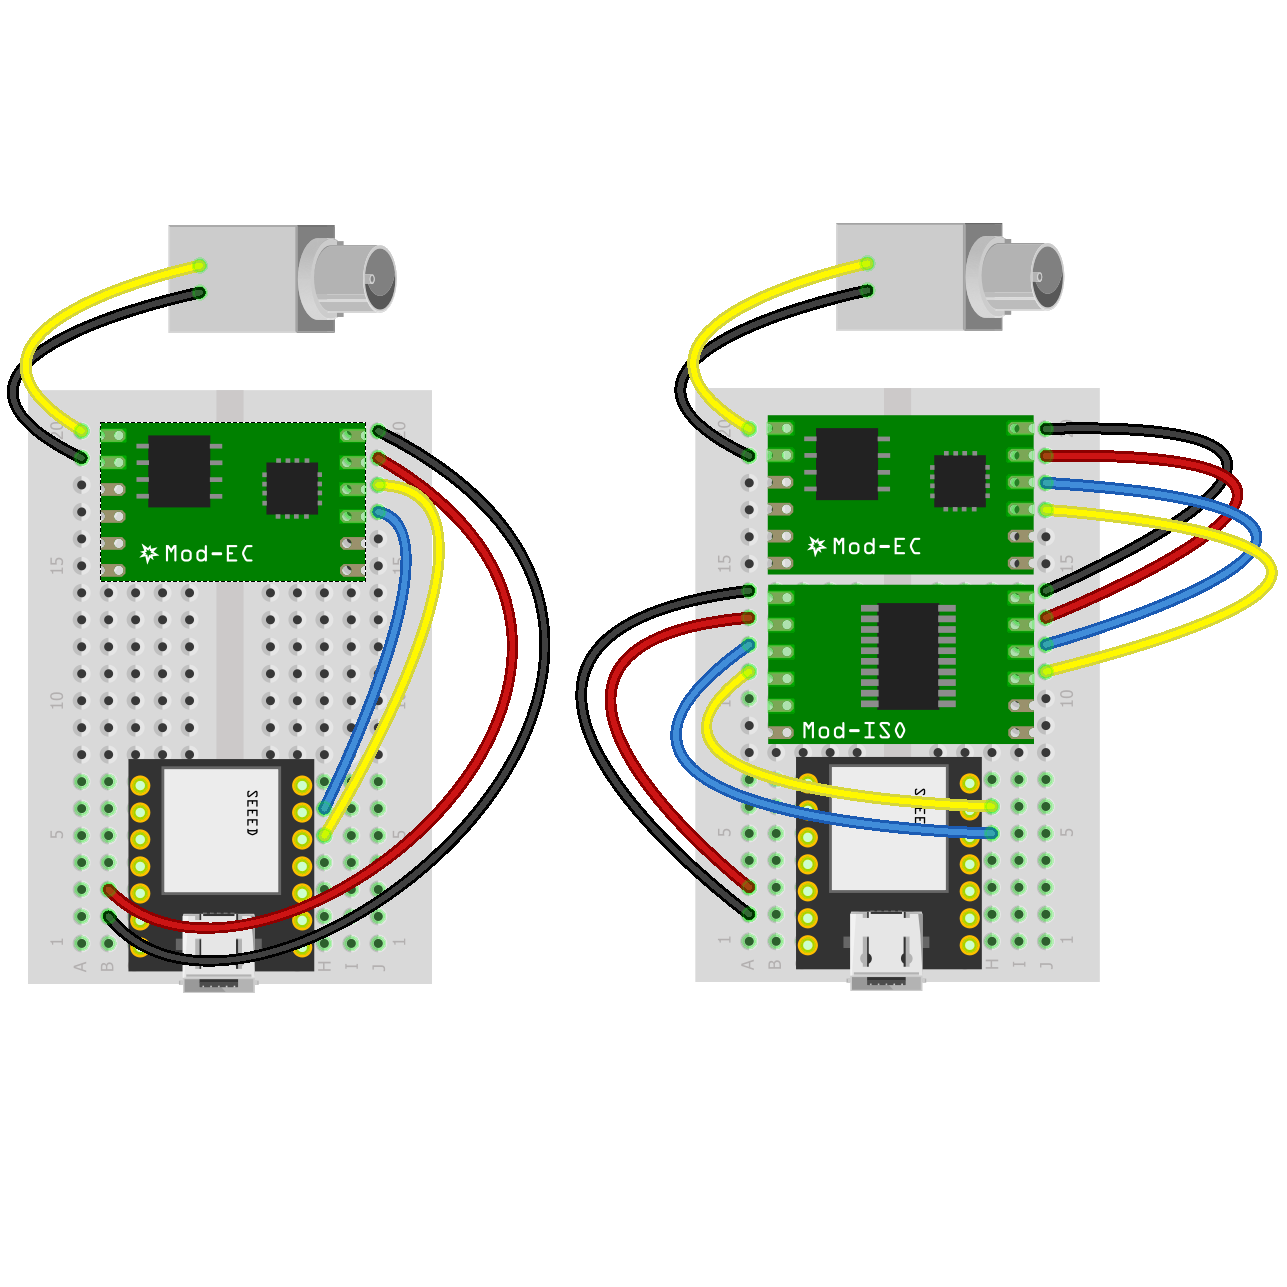
- Use it in a breadboard. To do that, you'll need to connect the I2C bus and probe connections using point-to-point wiring or something similar.
- Use it in a Carrier Board for an easier-to-use solution than breadboards.
- Use it on a custom board and attach it either by pins or castellation.
You'll need a conductivity probe:
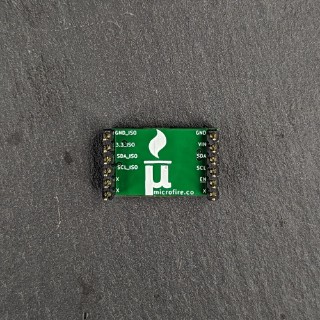
Mod-ISO will minimize cross-probe and environmental interference.